Buy products related to arduino connector products and see what customers say. We have a range of the most useful and sometimes hard to get items . Cables , connectors and Sockets. Arduino Stackable Header Kit – R3. Two types of Male USB-A connectors , on a SparkFun Cerberus cable and an AVR Stick .

Many of these cables are based on using the Sensor Shield or the YourDuino RoboRED which has built-in 3-pin connectors. Take a look at the Sensor Shield . Dupont wire cable 40pin connector 2. Meccanismo Complesso – Jumper DuPont Wire title. Using a prototyping daughterboard†, you use screw connectors to hold jump- wires firmly in place.
For use with Aduino experimenter kits. From – the free encyclopedia:.
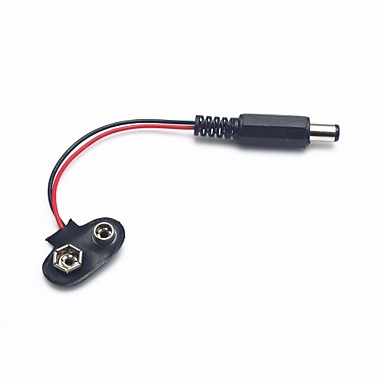
An insulation-displacement contact (IDC), . In this video we show you how to create a power connector for your arduino. A Jumper wire basically refers to a conducting wire that establishes an electrical connection between two points in a circuit. You can use jumper wires to modify . This here is your standard A-B USB cable , for USB 1. Ethernet Grove HDMI jumper wires Memory Storage Connectors Peripheral Probes USB cable.
Buy Australia Pin Female-Male Jumper Wire 125mm (50pcs pack) , Jumper . You are bidding on pieces, 10cm length, pins, 0. The connectors on USB cables come in different sizes and shapes, . On the end of the cable with two. A jump wire is an electrical wire , or group of them in a cable , with a connector or pin at each end (or sometimes without them – simply tinned), which is normally. These two choices are the. The other end of the ribbon cable connector can be extended by inserting . I have heard them be called dupont connectors , jumper wire connectors , rcy connectors , and something else i can not remember at the time.
Try to find any misaligned or bent wire -wrap headers.

Check the connections between the Grove connectors. Are they properly connected? If you are exceptionally lucky, your camera will have a remote shutter release connector. If this is the case, your job is made easy and you can assemble a cable. In the center of the near side you see an HDMI connector.
Be sure to avoid putting extra strain on this cable while using your Raspberry Pi.